Peppermint Mocha is back at Starbucks! That's how I know it's Christmas time! These cupcakes were inspired by that popular drink and I think they capture the flavor perfectly. I had never made a mocha cupcake before but I really liked it. You don't taste coffee, but it adds a deeper flavor that was wonderful!
I have to admit something though: I did use a canned frosting on these. I tried to make a Swiss meringue buttercream to top them but I don't have a stand mixer and couldn't get my egg whites beaten. So my wonderful husband made a late night run to the grocery store. That's why I keep him around. :-)

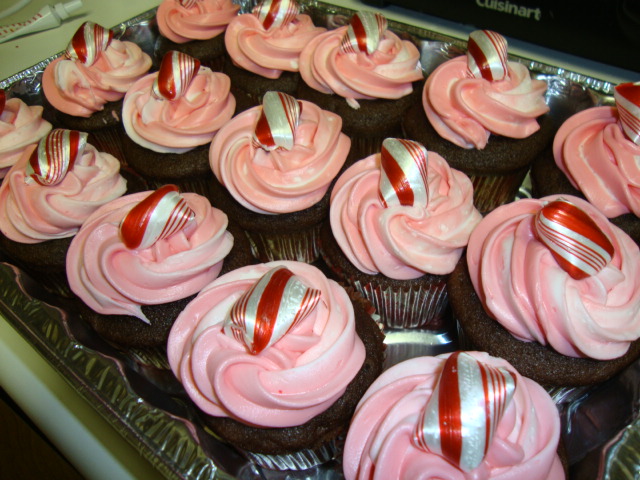
Peppermint Mocha Cupcakes
Adapted from Annie's Eats
Ingredients:
2 2/3 cups all-purpose flour
2/3 cup unsweetened cocoa powder
2 tsp. baking powder
1 tsp. baking soda
½ tsp. salt
1 cup whole milk (I used 1/2 cup 2% milk and 1/2 cup heavy whipping cream and it worked just fine)
1 cup strong brewed coffee
1 tsp. peppermint extract (I ended up adding about 2 1/2 tsps. because I completely spaced and added this to the dry ingredients first - it ended up okay though!)
1 cup (2 sticks) unsalted butter, at room temperature
1 cup granulated sugar
1 cup light brown sugar
2 large eggs
Directions:
To make the cupcakes, preheat the oven to 350° F. Line two cupcake pans with paper liners. In a medium bowl, combine the flour, cocoa powder, espresso powder, baking powder, baking soda and salt; stir together. Combine the milk, coffee and peppermint extract in a liquid measuring cup.
In the bowl of a stand mixer fitted with the paddle attachment, combine the butter and sugars. Beat on medium-high speed until light and fluffy, 2-3 minutes, scraping down the sides of the bowl as needed.
Blend in the eggs one at a time. Alternately mix in the dry and liquid ingredients, beginning and ending with the dry ingredients and mixing just until incorporated.
Divide the batter evenly between the prepared cupcake liners. Bake 18-20 minutes, or until a toothpick inserted in the center comes out clean. Let cool in the pan 5-10 minutes, then transfer to a wire rack to cool completely.


